Classic Buttermilk Biscuits for Beginners: A Step-by-Step First Batch
The first biscuit out of your oven will probably be lopsided, and it will still taste better than anything that came from a tube. Buttermilk biscuits ask for six ingredients, one bowl, and roughly half an hour from craving to cooling rack. What they reward is technique: cold fat, a light hand, and a hot oven.
If you have never cut butter into flour before, that is the part worth reading slowly. Everything else is stirring and waiting.
What You're Aiming For
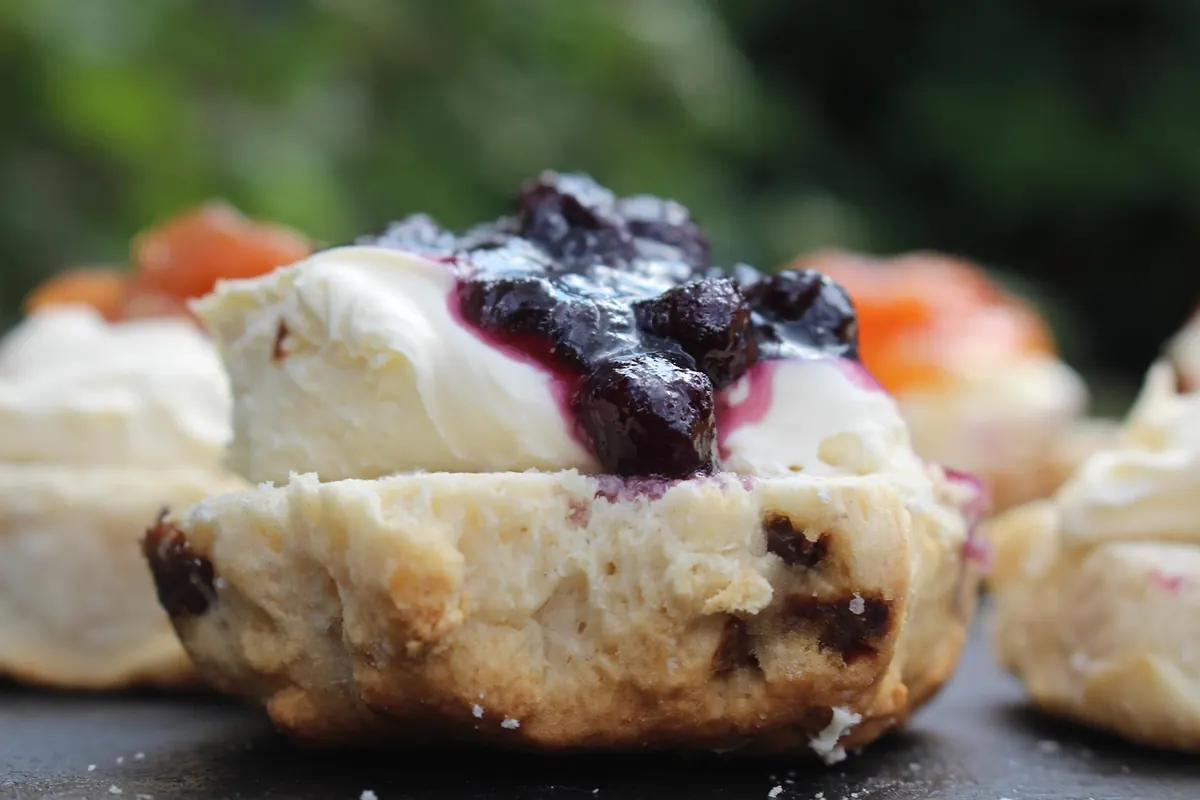
A good beginner biscuit is about two inches tall, with a craggy top and a bottom that has gone golden brown against the pan. Break one open and you should see rough layers, not a solid cake crumb. It should taste buttery and faintly tangy, and it should tear apart with a little pull rather than crumbling into dust.
You are not chasing perfection. You are chasing a biscuit that rises, holds its shape, and tastes like it was worth the twenty minutes.
The Ingredients, and How to Measure Them
- 2 cups (about 250 g) all-purpose flour
- 1 tablespoon baking powder
- 1/2 teaspoon baking soda
- 1 teaspoon fine salt
- 1/2 cup (1 stick) cold unsalted butter
- 3/4 to 1 cup cold buttermilk
The baking powder does the lifting, and the baking soda works with the buttermilk's acid to help the biscuits brown. If your baking powder has been in the cupboard since a previous address, replace it. It is the single most common reason a first batch comes out flat.
No buttermilk? Put a tablespoon of lemon juice or plain vinegar in a liquid measuring cup, fill to the one-cup line with milk, and let it sit ten minutes until it looks slightly thickened. It is not identical, but it works.
Measure Flour Without Packing It
Fluff the flour with a spoon, sprinkle it into your measuring cup, and level it off with the flat side of a knife. Scooping directly from the bag compresses the flour and can add a quarter cup or more to the recipe. That extra flour is why so many first biscuits come out dry and heavy. If you own a kitchen scale, 250 grams is the safer route.
Keep the Butter Cold
Cold butter is what creates steam pockets and flakes. Cut the stick into half-inch cubes and put it in the freezer for fifteen minutes while you gather everything else. Some bakers grate frozen butter on a box grater, which is faster and keeps the pieces uniform. Either way, the butter should be hard when it hits the flour.
Cutting in the Butter
This is the step that decides what kind of biscuit you get. Toss the cold butter cubes into the flour mixture and work them in with a pastry blender, two knives, or your fingertips. Stop when the mixture looks like coarse meal with a few pea-sized lumps and some flattened flakes still visible.
Those larger flakes are not a mistake. They will melt in the oven and leave layers behind. What you want to avoid is a uniform, sandy texture, which means the butter has been broken down too far.
Work quickly, and if the mixture starts to feel greasy or warm, slide the bowl into the fridge for ten minutes before continuing.
Adding Buttermilk and Folding the Dough
Make a well in the center of the flour and pour in three-quarters of a cup of buttermilk. Stir with a fork just until the dough starts to clump. If dry flour is still sitting at the bottom of the bowl, add more buttermilk a tablespoon at a time. You are looking for a shaggy, slightly sticky mass, not a smooth ball.
Turn it onto a lightly floured counter and fold it over on itself three or four times, pressing gently between folds. That is the whole kneading process. More than that and you develop gluten, which turns a tender biscuit into something closer to a dinner roll.
Pat the dough into a rectangle about half an inch thick, or three-quarters if you like a taller biscuit. Do not use a rolling pin unless you have to; your hands are gentler and you can feel when the dough is fighting back.
Shaping, Cutting, and Baking
Dip a sharp two- or two-and-a-half-inch cutter in flour and press it straight down through the dough. Do not twist it. Twisting seals the edges and the biscuit will rise sideways instead of up. Cut as many as you can, then gently press the scraps together once for a final biscuit or two.
Arrange the biscuits on a parchment-lined sheet pan. For soft-sided biscuits, set them so they touch. For crisp edges, leave an inch between them.
Bake at 425°F (220°C) for twelve to fifteen minutes, until the tops are golden and the bottoms have browned. Brush the hot biscuits with melted butter as soon as they come out. Serve them warm, ideally within the hour.
When the First Batch Misbehaves
- Flat biscuits: old baking powder, butter that warmed up, or too much handling.
- Dry and crumbly: too much flour, usually from scooping, or not enough buttermilk.
- Tough and chewy: the dough was worked past the point where it came together.
- Leaning biscuits: the cutter was twisted, or the dough was uneven in thickness.
- Pale bottoms: the oven was not fully preheated, or the pan sat too high on the rack.
None of these are disasters. Every one of them is diagnosable from the biscuit in front of you, which is exactly why the second batch goes better than the first.
Bake a Second Batch This Week
Skill here comes from repetition more than reading. Bake the same recipe again within a few days, changing one thing at a time. Grate the butter instead of cubing it. Add an extra tablespoon of buttermilk and notice how much easier the dough comes together. Fold the dough five times instead of three and count the layers in the finished biscuit.
Write two lines of notes after each batch: what you changed and what the biscuits looked like. Next month those notes will matter more than any recipe.
Biscuits also freeze well. Bake a full batch, let the extras cool completely, and freeze them in a bag. Reheat them in a 350°F oven for eight to ten minutes, and they come back most of the way to fresh. That means a first practice batch is not wasted even if it turns out ugly. It is breakfast for the next three mornings.
Photo: Sophkins / Pixabay